
LEARN & DISCOVER

Discover
All plants in our nursery are grouped according to height – this makes it easy to search for the plants most appropriate for your needs as you plant your garden.

PLANTING AND MAINTAINING A NATIVE GARDEN
Every species of Australian plant has a different set of requirements for maximum growth:
- Some tolerate extremely dry sites; others wet or boggy sites.
- Some grow well in shade; others filtered light or full sun.
- Some grow well in clay soils; others prefer loamy soils or sand.
It is important to select the appropriate plants suitable for your requirements and the above need to be taken into consideration for good growth.
SOIL PREPARATION
While many Australian plants will grow well with little or no soil preparation, a little extra effort before planting will help you achieve better plant growth, and also increase the range of plants you can grow successfully in your garden. Most Australian plants prefer soil with good drainage and aeration, meaning an open, friable soil which allows water to drain through it freely. Since many areas around Melbourne have clay or clay-loam soils, some preparation before planting will be beneficial.

Creating Planting Beds
If you choose to buy in topsoil, avoid spreading this in a thin layer over the surface of the soil, or using it just in the planting holes, as this will lead to problems later. For best results, mix the topsoil into the existing soil over the whole planting area. Another alternative is to create raised planting beds by mounding up soil to a minimum depth of 30 cm above the original ground level. If using existing soil on site for mounds, you may wish to add some coarse river sand (unless the soil is sandy), especially if you want to grow some of the more challenging plants. This will help to keep the soil well aerated during the compacting process which occurs naturally over time. Use one part sand to two parts soil.

Clay Soils
Clay soils are made up of very fine particles which are packed together with few air spaces, and therefore have poor drainage and aeration. If your soil is very heavy and wet in some areas for most of the year, you can capitalise on this by creating a bog garden, using plants which thrive in wet spots.
To generally improve clay soils, there are a few steps to take for best results:
Remove weeds – either by hand or using a natural herbicide such as Slasher. Those weeds which are more difficult to eradicate (such as couch grass, oxalis) are best treated with herbicide, but you will need to allow a couple of weeks for the weeds to die before digging the soil.
Gypsum – this has the effect of bonding the fine clay particles together, making larger particles with bigger air spaces between them. It must be dug into the soil at a rate of 1-1.5 kg/m2 – it will not work if left lying on the surface, and by physically breaking up the soil by digging, you will improve plant growth. Avoid digging when soil is very wet. It should be just moist.
Multicrop Ground Breaker – This liquid has a similar effect to gypsum but is watered into the soil with a watering can. It is especially useful for garden areas where there are existing plants and digging is not possible.
Organic Matter – materials such as compost, rotted lawn clippings and leaves can be mixed into the soil to improve drainage and aeration, and can be added in conjunction with gypsum. Once the garden is planted, adding organic matter such as leaf mulch as often as possible is recommended, as this encourages worms which also help improve and open up the soil.

Sandy Soils
Whilst sandy soils are well aerated due to the large soil particle size, they have poor water-holding capacity and nutrients are readily washed from the reach of plant roots. The best way to improve sandy soils is to incorporate well-rotted organic material into the soil, and to use an organic mulch on the soil surface. This will encourage worms and continue to break down and improve the soil, and also help prevent the soil from drying out.
When sandy soils become very dry, they may actually repel water. To overcome this problem, add composted organic matter such as leaf mulch to the soil, and use a soil wetting agent such as Debco SaturAid according to the directions, which also helps improve water-holding capacity.

Let’s get planting
As long as you are able to water over the summer until plants establish, planting can take place all year round.
Plant your shrubs as soon as possible after purchase. Plants are difficult to look after in the nursery pots and it is easy to lose a plant from being over- or under-watered once it has left the nursery.
Dig your planting hole much bigger than the size of the pot – say at least twice as deep and three times the diameter. This is particularly important when planting into an old established garden bed where soil preparation is often minimal.
Sprinkle a light dressing of Kuranga’s Two in One over the excavated soil, then backfill the hole with some of the fertilised soil.
Remove the plant from its pot by tipping it upside down and placing a hand over the soil. With your free hand, give the rim of the pot a sharp upwards tap, and the pot should come away easily.
Gently tease out the roots only if roots are tightly coiled and form a solid mass around the outside edge of the pot.
Plant the shrub so that the top of the soil ball is level with the surrounding garden bed. Don’t put soil up around the stem of the plant as this will cause rotting of the stem. Backfill around the shrub with the remaining soil and gently firm in by hand.
Immediately water-in the plant with a bucketful (10 litres) of water.

EVERLASTINGS
Every year Kuranga we will have a range of native annuals (Everlastings) available for sale in small pots and seed. These stunning little plants will flower for months and are excellent as informal mass plantings or for dotting in amongst other garden shrubs for an informal wildflower effect. They can also be used for a more formal garden display and are lovely in containers. These are wonderful as fresh or dried flower arrangements and will last for many years when dried.
Seed Seed can be sown from late April to early September. Two or more sowings (in April-May and August-September) will provide an extended flowering period. Plants will self-seed and come up the following year if soil is friable.
Pots Seedlings can be planted from May through to early December. Again, two plantings will extend the flowering period.
Requirements These plants require full sun and will grow in any soil providing the soil is reasonably friable and well-drained. Seed can be sown directly into the garden bed and germination should take place within 30 days. If planting pots of seedlings, remove them from the plastic container but do not separate the seedlings. Instead, plant the seedlings as a block straight into the ground. If a massed effect is desired, you may plant more punnets but allow a space of 30 cm between punnets as the seedlings will become bushy plants and will spread out as they grow.
Feeding Once seed or seedlings have established themselves (10 cm high) they will benefit from a light dressing of a nitrogen based fertiliser such as Kuranga’s ‘Two-in-One’.
Pruning Tip pruning is recommended in the very early stages of growth in order to promote bushy growth, which then ensures many more flowers. Later, by cutting flowers for indoor use, you will be pruning the plants again and this often results in the development of even more flowers. Prune spent flowers back. Slugs and snails love young plants so use snail bait early.

FROST TOLERANCE
Most native plants are tolerant of the mild frosts you would expect to get in the Melbourne region and in other parts of southern coastal Victoria. In such areas, occasional extreme or unseasonal frosts may cause minor damage to some species in the form of tip burn, but the plants will usually recover in spring with warmer weather.
However, frosts in inland or alpine areas of Victoria can be quite severe and may result in the death of ill-chosen plants. If you live in a highly frost-prone area, where winter temperatures regularly drop below -5 °C, then the following steps can be taken to reduce frost damage.
TO REDUCE FROST DAMAGE
- Choose frost-hardy plants.
- Delay planting until after winter when there is less likelihood of severe frosts, to gain maximum plant growth before the onset of frosts the following winter.
- Observe the areas on your land which are most prone to frosts – such as at the base of slopes, along creek lines or against fences which stop air movement – and avoid planting frost-sensitive species there.
- Plant sensitive species next to large structures such as buildings and water tanks. These will heat up during the day and radiate warmth during cold nights.
- Use existing tree canopies as protection for smaller shrubs.
- Young plants may be protected by covering with hessian, provided it does not touch the plant. It should be removed during the day to promote strong, healthy plant growth. Plastic covers are not recommended for frost protection.
As trees and shrubs grow in height, they will become less prone to frost damage as their canopies rise above the frost layer.

CONTAINER PLANTS
Container growing provides you with a portable garden, one which can be changed at whim to take full advantage of flowers and perfume. Container growing also enables us to grow some of the more rare and challenging plants that we are unable to grow in the garden because, in a container, we can provide the plant with a potting mix and conditions to suit its needs.
KEYS TO SUCCESSFUL CONTAINER GROWING
- Choice of plant Choose a plant appropriate for the container – that is, one which complements the shape of the container and won’t rapidly outgrow the container.
Consider whether the container will be in full sun, filtered light or shade, inside or outside, and choose accordingly.
Choose plants which have attractive foliage or are long-flowering. In larger containers you can plant several complementary varieties to give a longer flowering period.
- Ensure good drainage Make sure your container has adequate drainage holes. If necessary, use a masonry bit to drill extra holes in terracotta or concrete pots. As an added precaution, a layer of crock or gravel can be added to the base of the container to further improve drainage and prevent potting mix blocking drainage holes.
Barrels will need a number of large holes drilled in their base using a 2 to 3 cm auger bit.
Use a good quality potting mix specifically for Australian natives
- Feeding All container plants need regular feeding, the best time being early autumn and early spring. Feed every 6 months with a slow-release fertiliser using either Kuranga’s Two-in-One or a light application of Osmocote Plus for Native Gardens.
- Watering The amount of water a plant needs will depend on the type of plant, size of plant, type of container and whether the container is in full sun, filtered light or shade. Where possible, it may be preferable to move your containers out of full sun during summer so that watering does not become a chore. The best method of determining whether watering is needed is to press your finger into the potting mix. If the mix feels dry then the plant will need watering.
The addition of a soil wetting agent such as Debco SaturAid Soil Wetter or Multicrop Eco Wet will assist with the rapid penetration of water into the potting mixture.
SaturAid Water Storing Crystals can be used to prevent drying out of hanging baskets and other containers, but may be best reserved for moisture-loving species.
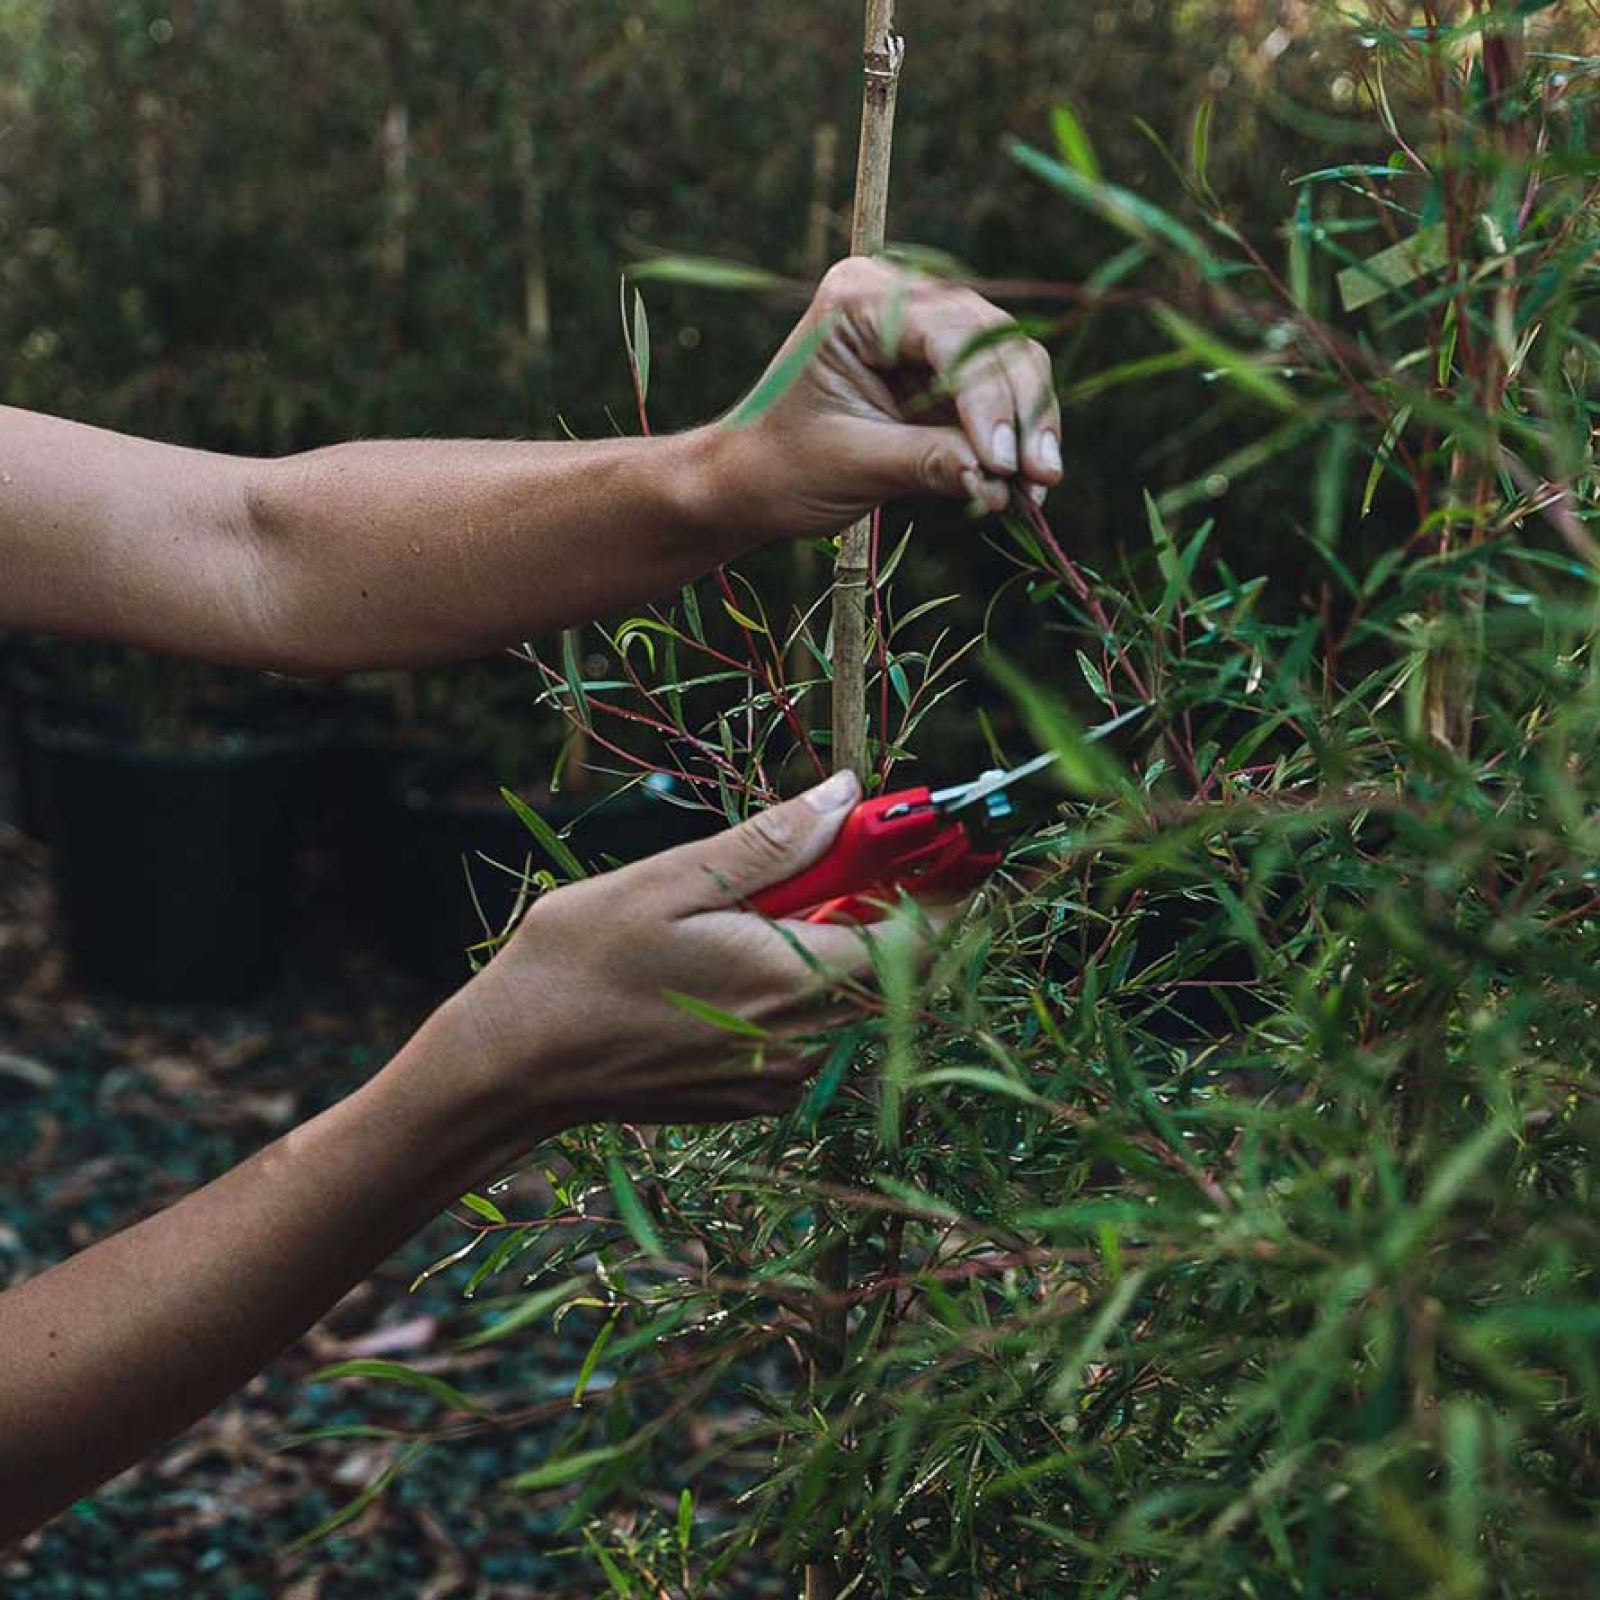
- Pruning Most Australian plants benefit from regular light pruning and this includes those grown in containers. Tip pruning from an early age encourages bushy growth and can increase and maintain plant vigour.
A basic rule is to prune plants immediately after flowering. For plants which flower for several months, the cutting of some flowering stems for indoor use is an effective form of pruning.

Banksia giants
If size matters then you will be wanting one of each of these Banksias for yourself.
Banksia ‘Giant Candles’ is a cross between B. ericifolia and B. spinulosa and it produces super impressive-sized orange flowers up to 40cm long in late autumn and throughout winter. The plant itself can reach a height of 4m if left unpruned.
Banksia praemorsa has two colour forms available from us; bright lemony-yellow and wine red. The 35cm long, cylindrical flowers are highly conspicuous on the plants throughout winter and spring. Plants can reach up to 3m high and 2m wide.
Banksia baueri, aptly named the Possum or Woolly Banksia is one of those plants that almost defies logic. Super sized, woolly flowers are up to 35cm long and 15-20cm in diameter. You really just want to give these flowers a pat (and even maybe a cuddle when no one’s looking).